
At a glance
Before you start
- Liquid Connect activated, from the Liquid Connect card on Home or the first time a website asks. See Connect your wallet to a website.
- Your wallet on Liquid testnet. On Liquid mainnet there is no directory yet, so nothing about you is published there and handles, contacts and paying by Wallet ID are not available on mainnet yet.
- For the phone step only, 0.50 USDt in the wallet for the fee. The wallet shows the price before anything is charged.
How it works
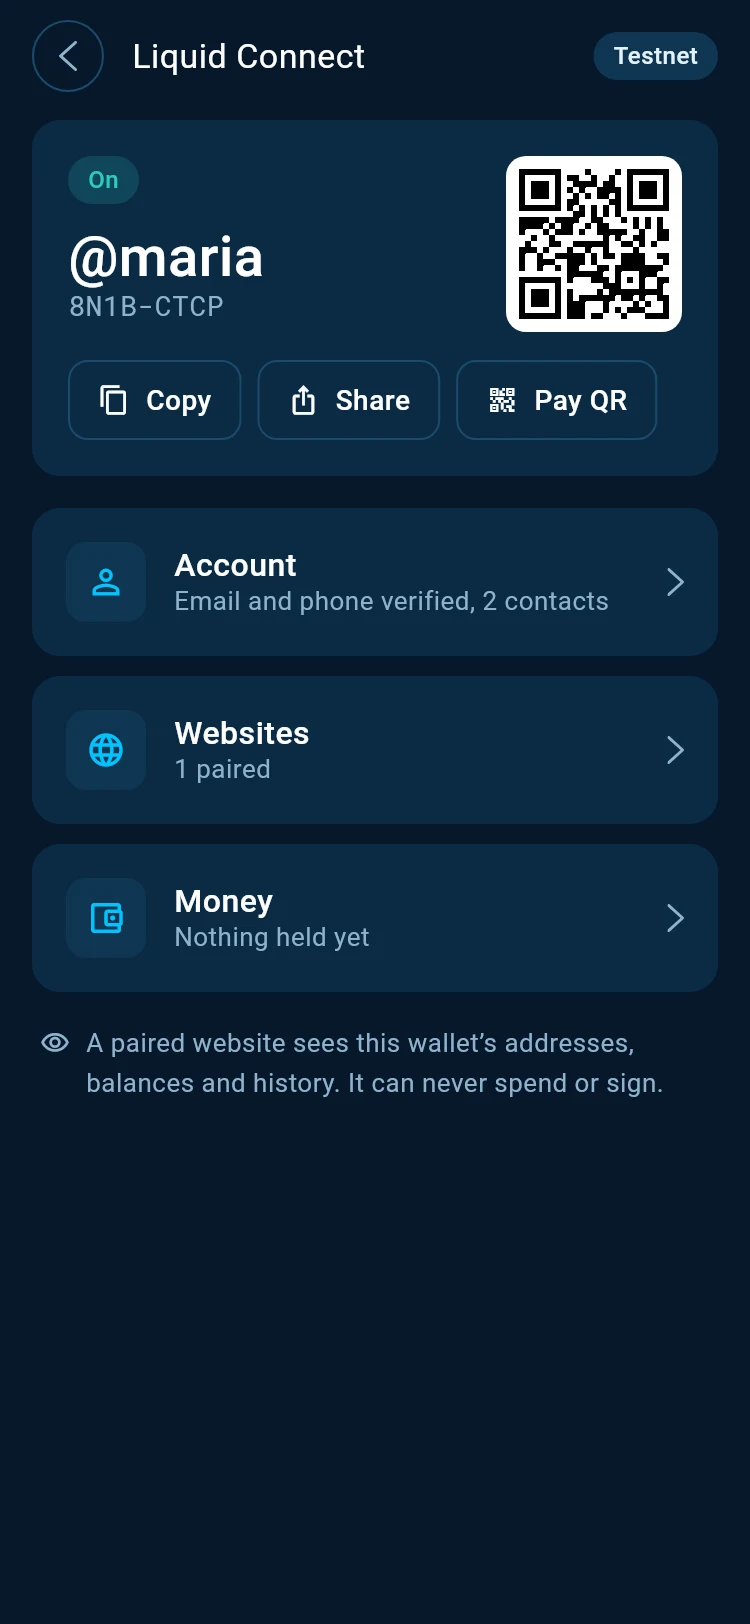
Activating Liquid Connect put your wallet in the directory with a Wallet ID, a short code such as 8N1B-CTCP. Anyone can already send you Liquid assets through your pay QR or pay link. A handle is a name that points at the same wallet. Changing the handle later never changes the Wallet ID.
Someone who pays your handle never gets a fixed address. Their wallet asks for a fresh address of yours each time, so no two payers see the same one.
Step by step
Open Set up
After your first website, the wallet shows You can be paid now with your Wallet ID. Tap Set up. If you chose Not now or activated from Home, open Liquid Connect in the wallet and tap Continue on the Set up card.You can be paid now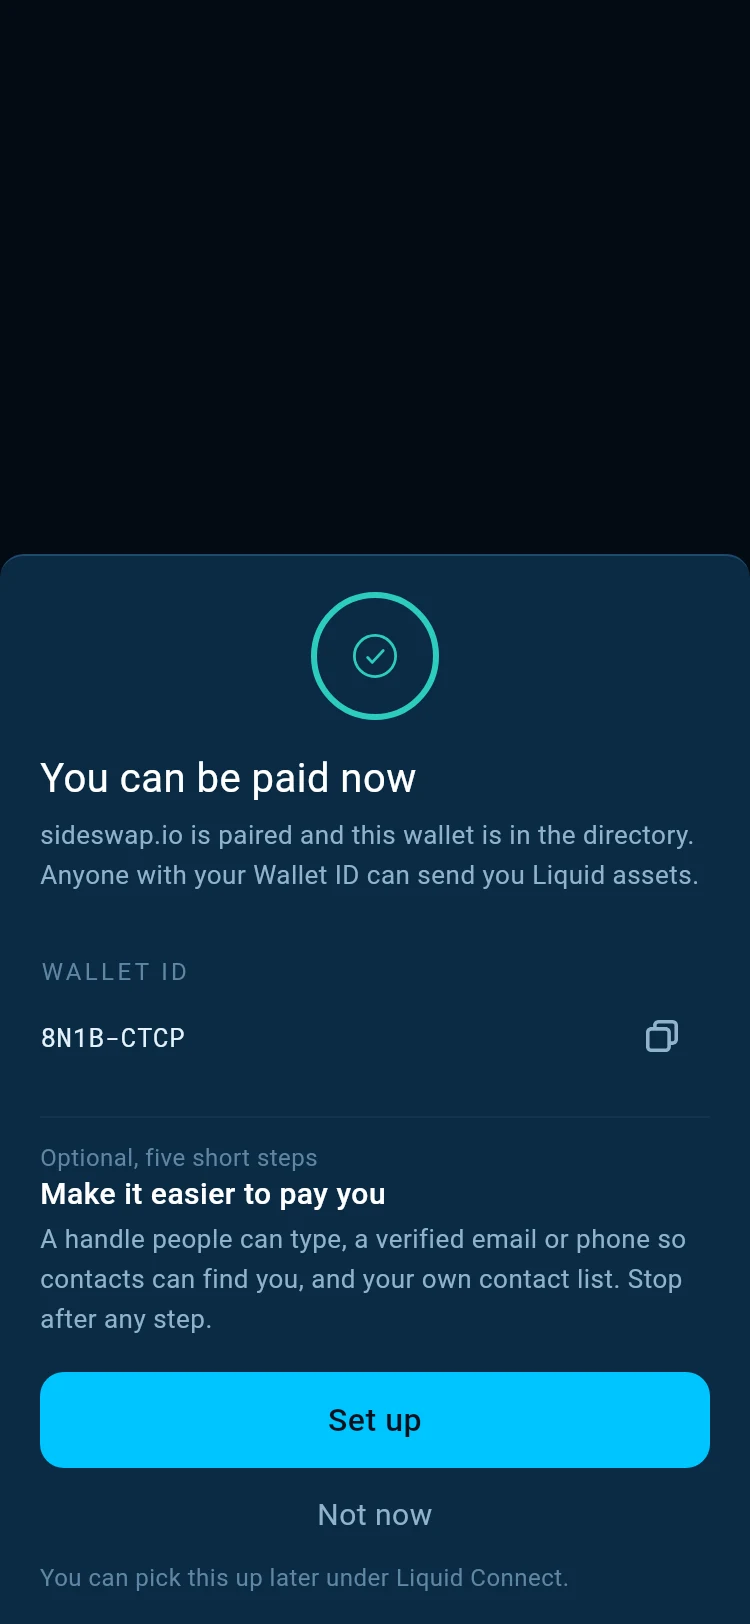
Claim a handle
Type the name you want. The wallet checks the rule as you type, and the directory confirms the name when you claim it. Handles are first come, first served. Your handle will be public, so anyone can pay it through your pay QR or pay link. Tap Claim.Step 1 of 5, Handle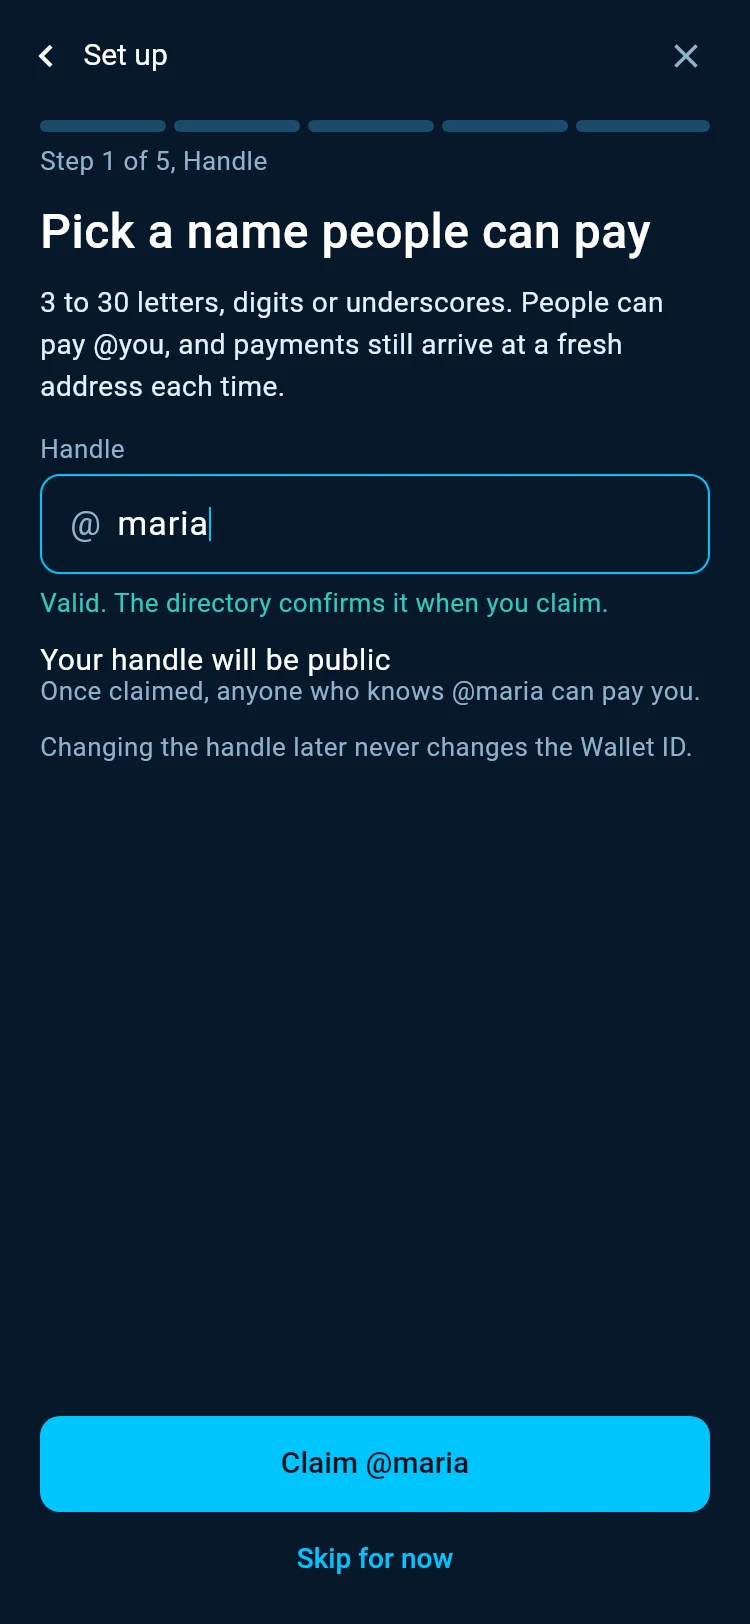
Verify an email
Enter your email and tap Send the code, then type the code from the email and tap Confirm. It is free. The address goes to the directory to send the code, and the directory keeps only a hash of it. To leave it out, tap Continue without an email.Step 2 of 5, Email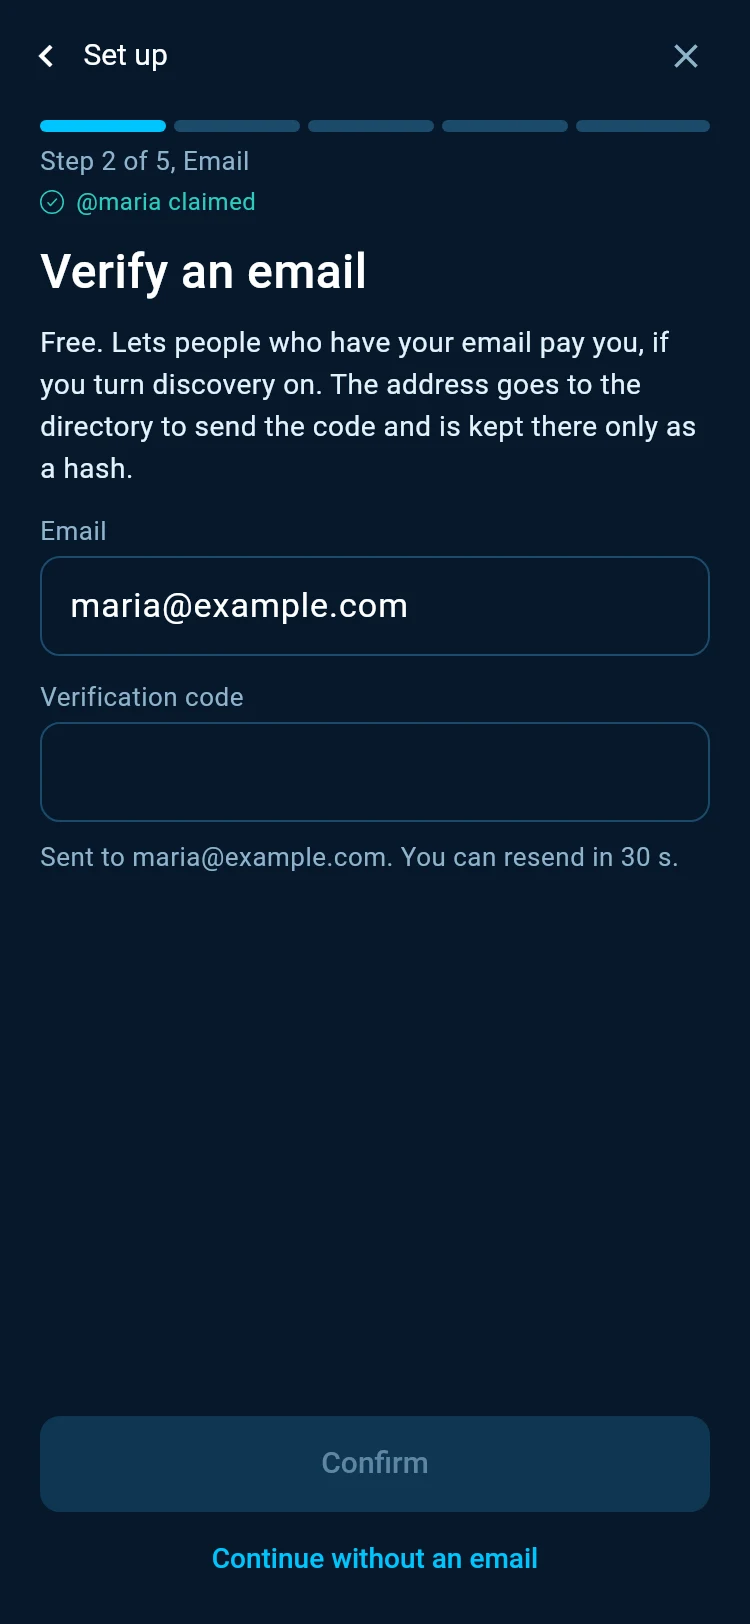
Add a phone number, if you want
Choose the country, type the rest of the number and tap Get the price. The next screen shows the price, 0.50 USDt, paid from this wallet. Tap Pay 0.50 USDt, then sign the payment request that follows. Nothing is charged before you sign. A wrong number? Tap Use a different number first.Step 3 of 5, Phone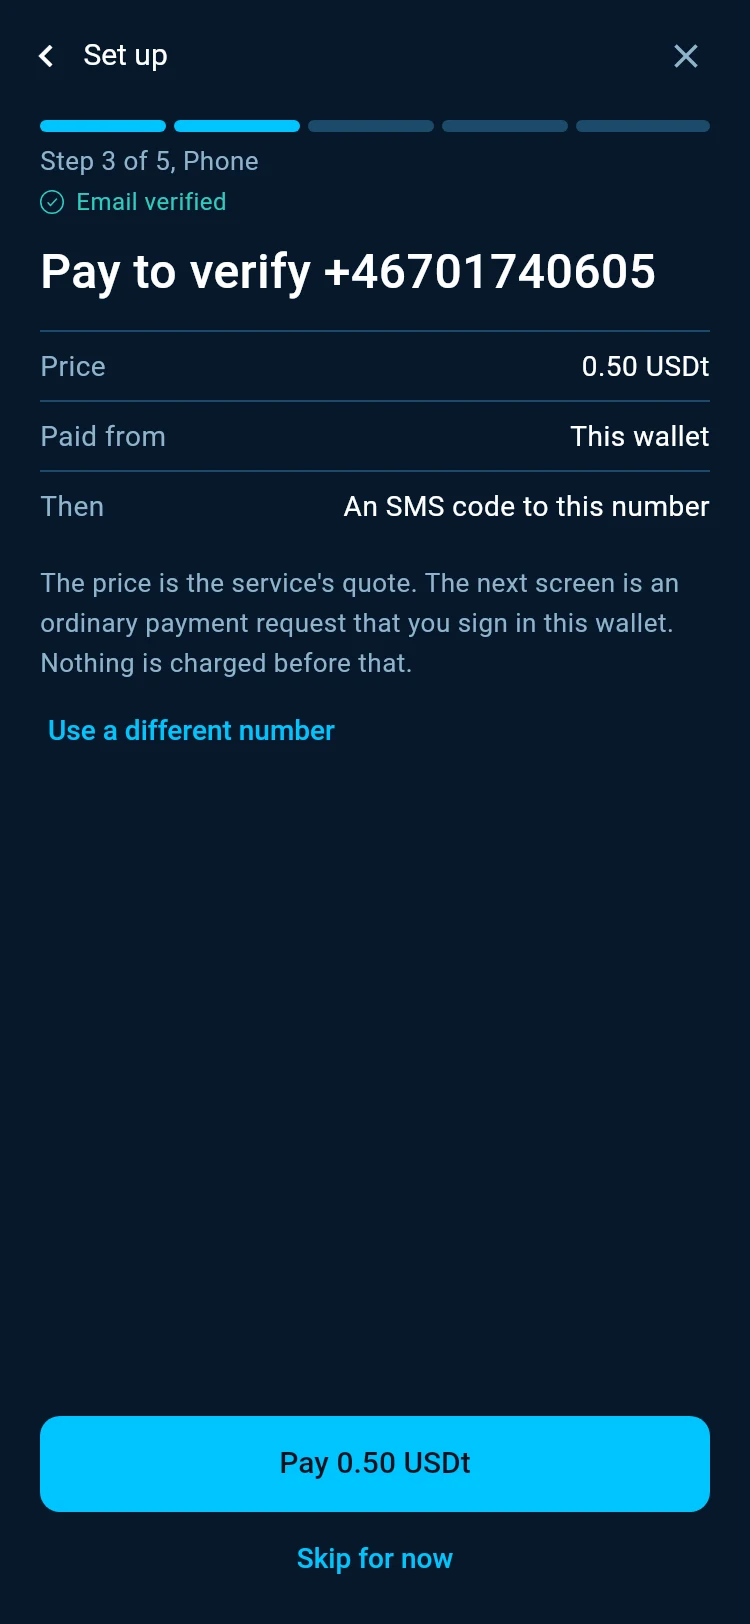
Enter the SMS code
Once the payment is seen, the code goes out by SMS. Type it and tap Confirm. Resending the code is free. A new number is a new fee.Enter the SMS code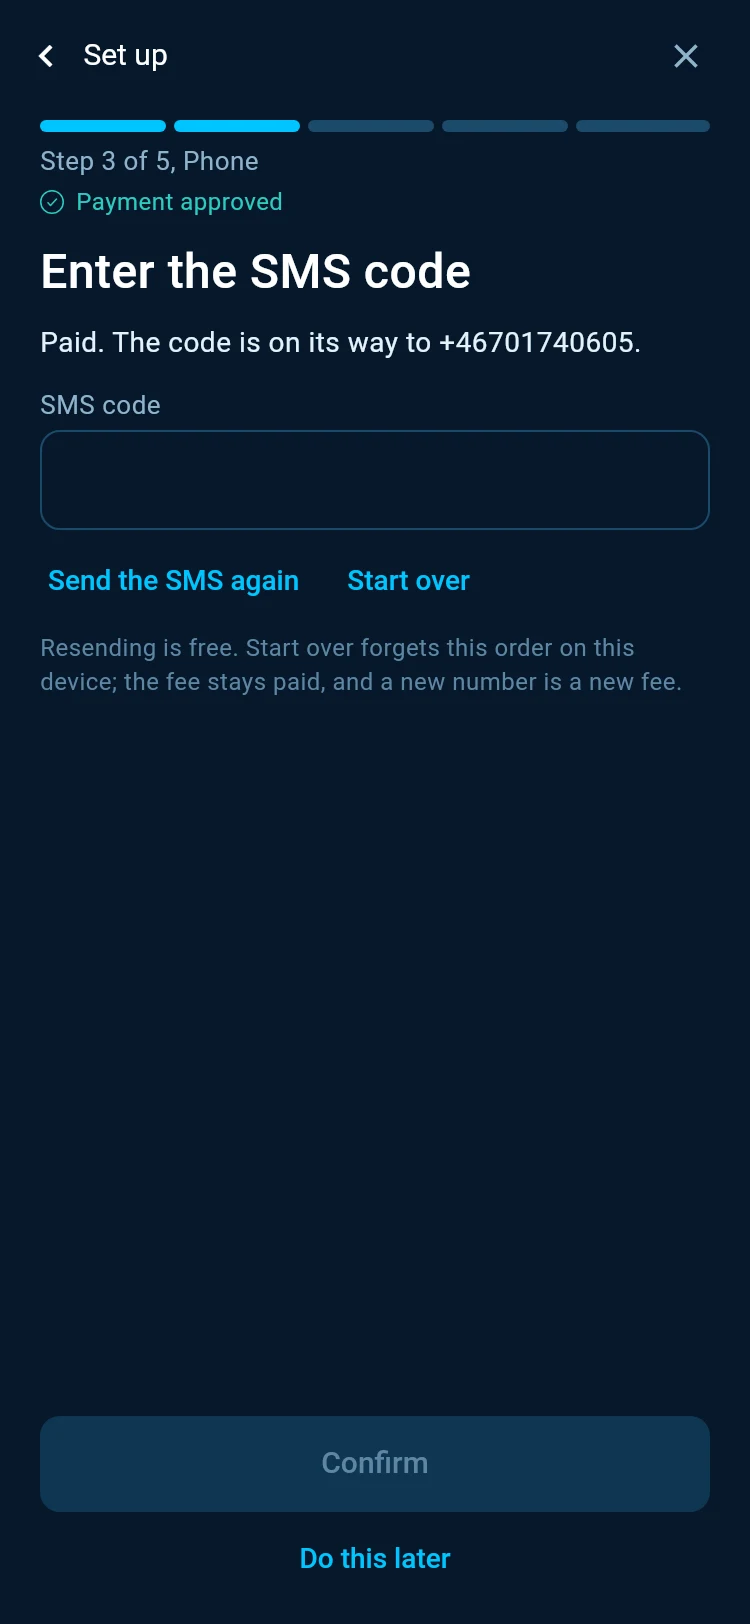
Let contacts find you
One switch. When it is on, people who already have your verified email or phone number can look up this wallet and pay you. It stays off unless you turn it on. The table shows what the directory holds. Tap Continue.Step 4 of 5, Discovery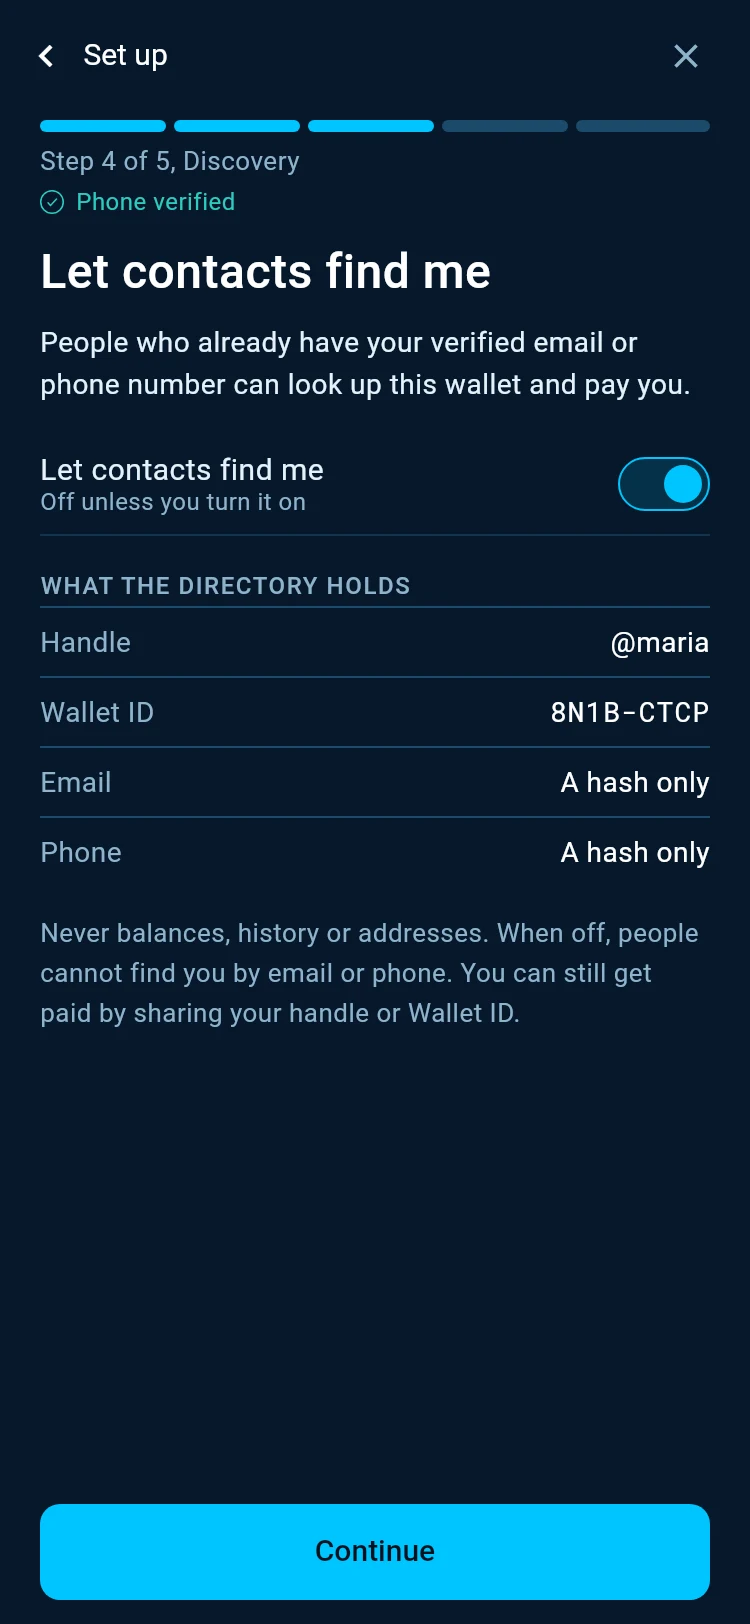
Finish
The last step finds people you can pay. To leave it for later, tap Finish without adding anyone. Your Account opens and says Set up is finished, with how many steps you did. From now on your handle and Wallet ID live there and at the top of the Liquid Connect page.Account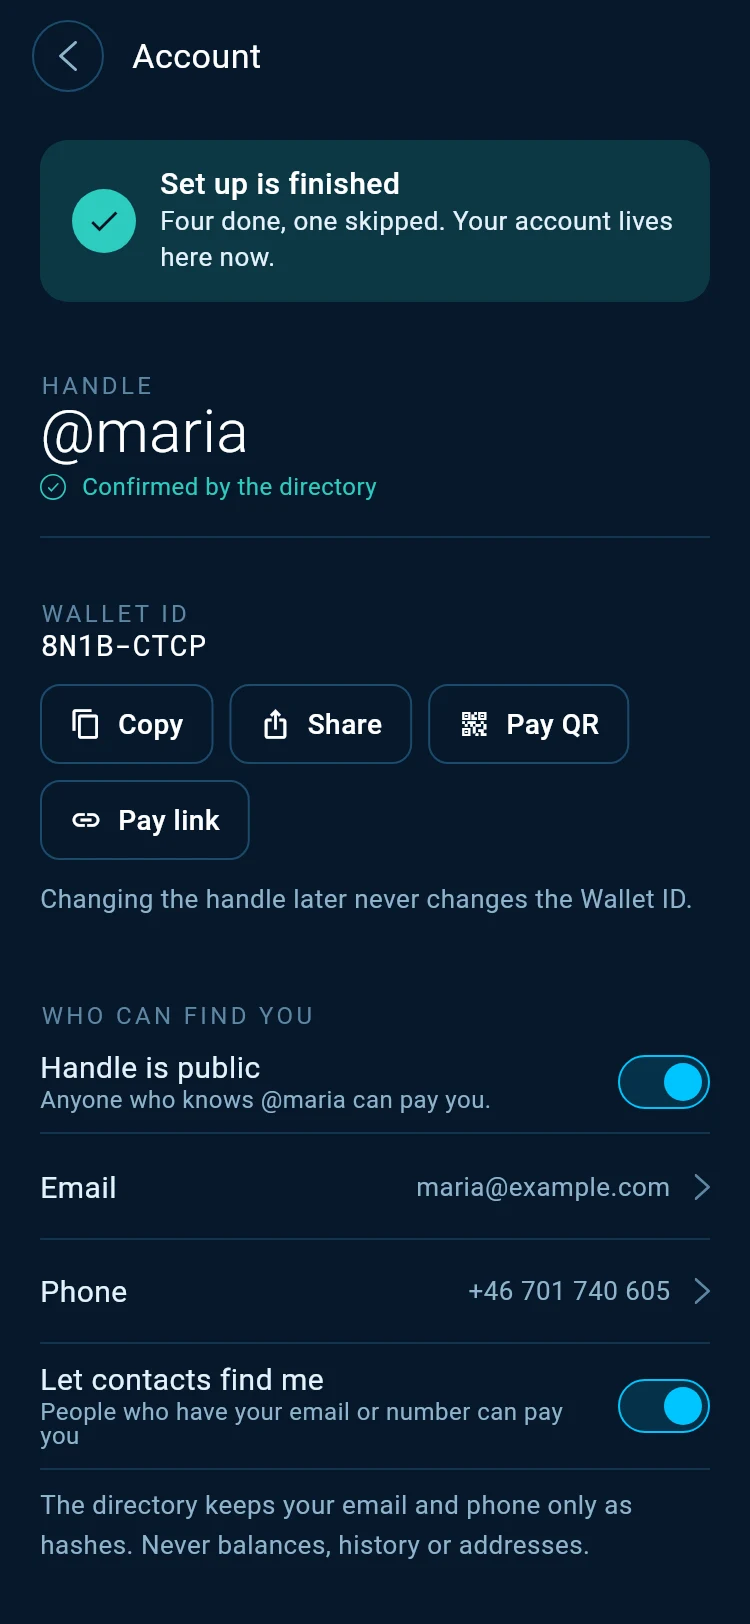
Share your handle
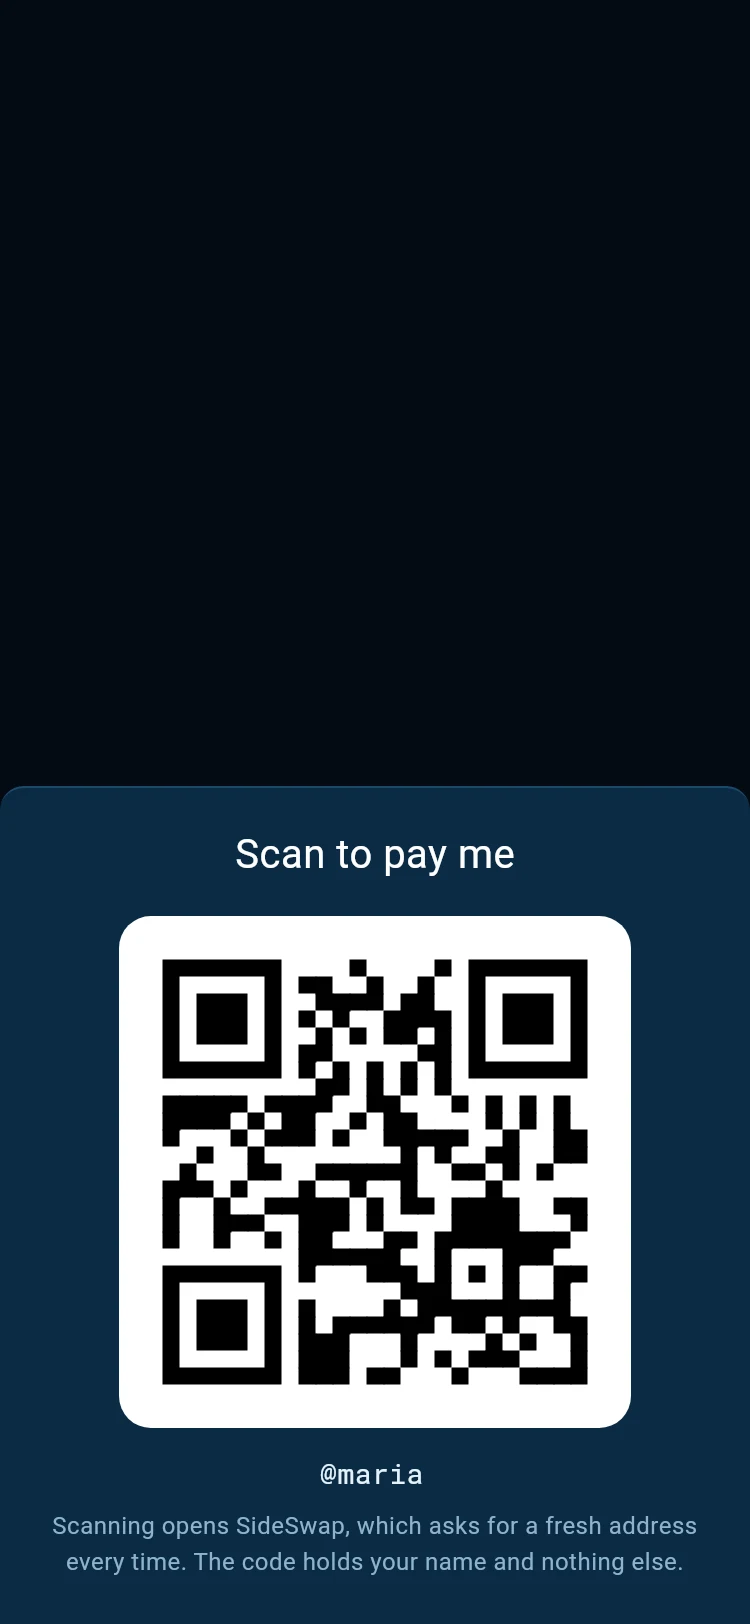
Pay QR on the Liquid Connect page shows a code for someone next to you. Scanning it opens SideSwap, which asks for a fresh address every time. The code holds your name and nothing else, so a printed code never goes stale.
Under Account, Pay link copies the same thing as a link to send in a message. Opened on a device with SideSwap, it starts a payment to you.
Copy and Share send your handle as text. In Pay, a typed handle works only for people you are paired with, so send everyone else your pay QR or pay link. See Add contacts and pay them.
Who can find you
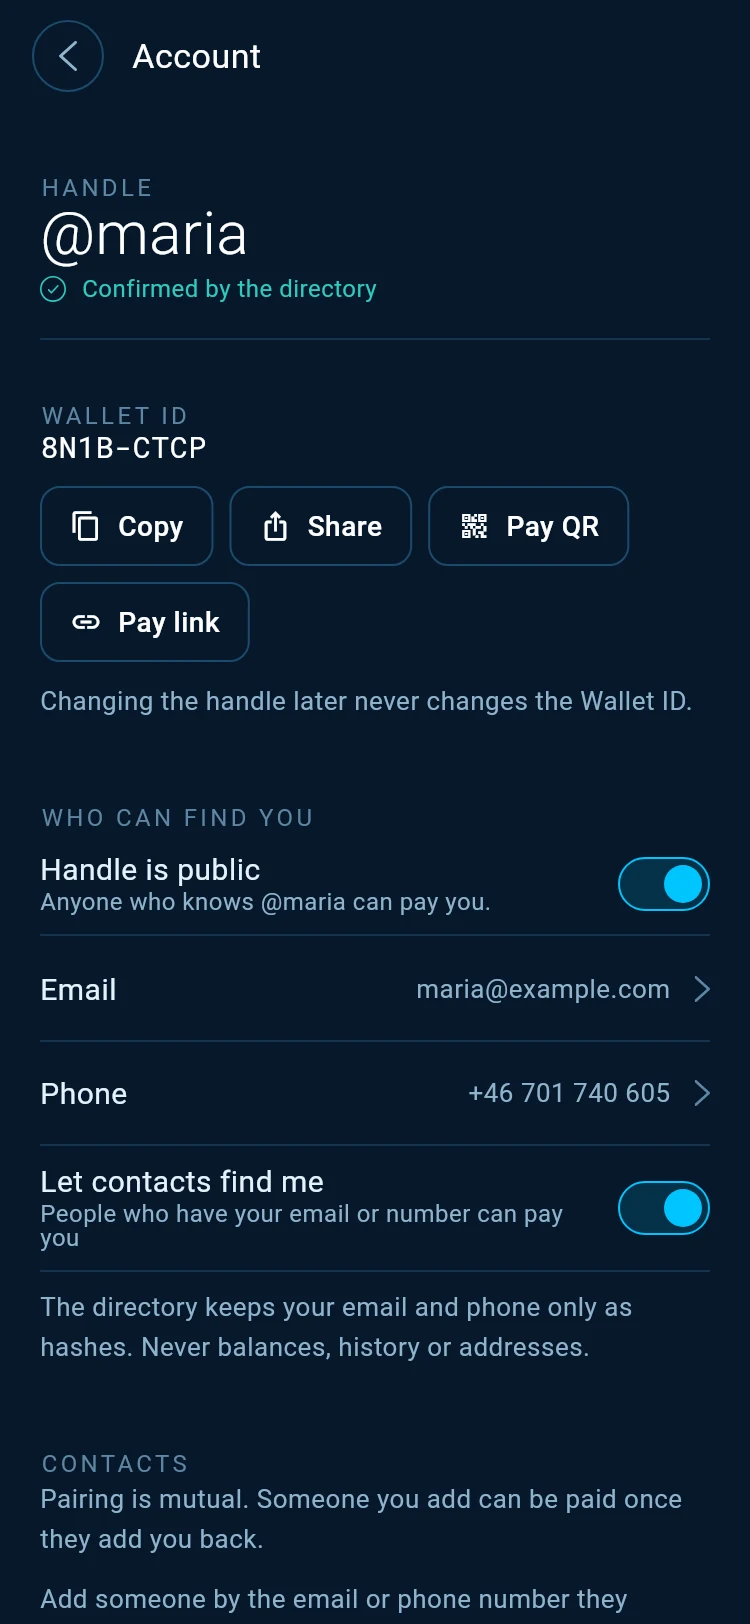
Open Liquid Connect and tap Account. Under Who can find you you can change your choices at any time.
Handle is public. Turn it off and people who are not your contacts cannot pay your handle. Your Wallet ID and your paired contacts still work.
Email and Phone show what you verified, or Add to do it now. Let contacts find me is the same switch as in Set up.
Good to know
Skipped a step
Every step can be skipped. The Set up card on the Liquid Connect page keeps the steps you left out. Tap Do it now on a row, or Continue. Hide set up removes the card.
The handle you want is taken
Someone else claimed it. Handles are first come, first served, so try another name.
Remove my ID
Under Account, Remove my ID deletes your handle, your verified email and phone and your contacts from the directory. Contacts can no longer pay you through it and your handle becomes free for anyone to claim. Your wallet, its coins and your connected websites are not affected, and your Wallet ID stays because it comes from this wallet.
On a computer
The same five steps open in a panel in the desktop app. Checking your address book for contacts happens on your phone.
Look your transaction up first. If it still looks wrong, write to support with the Bitcoin transaction ID.
Add contacts and pay them
Find friends already on SideSwap, pair with them and pay a contact in a few taps.
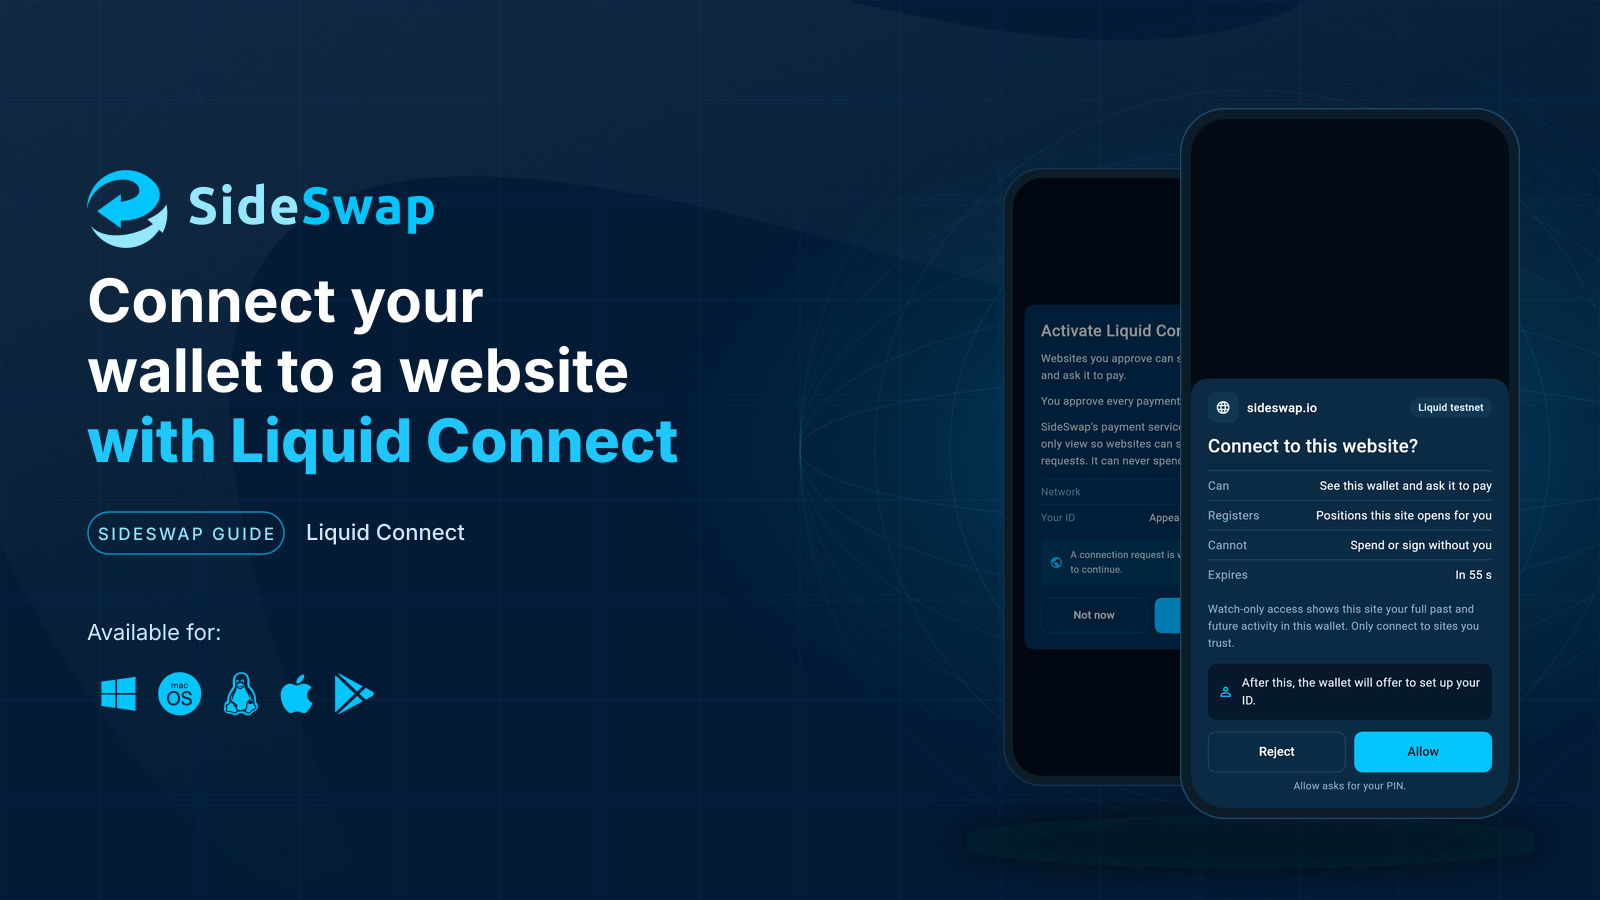
Connect your wallet to a website
What Liquid Connect is, what one approval gives a website and what it never can.
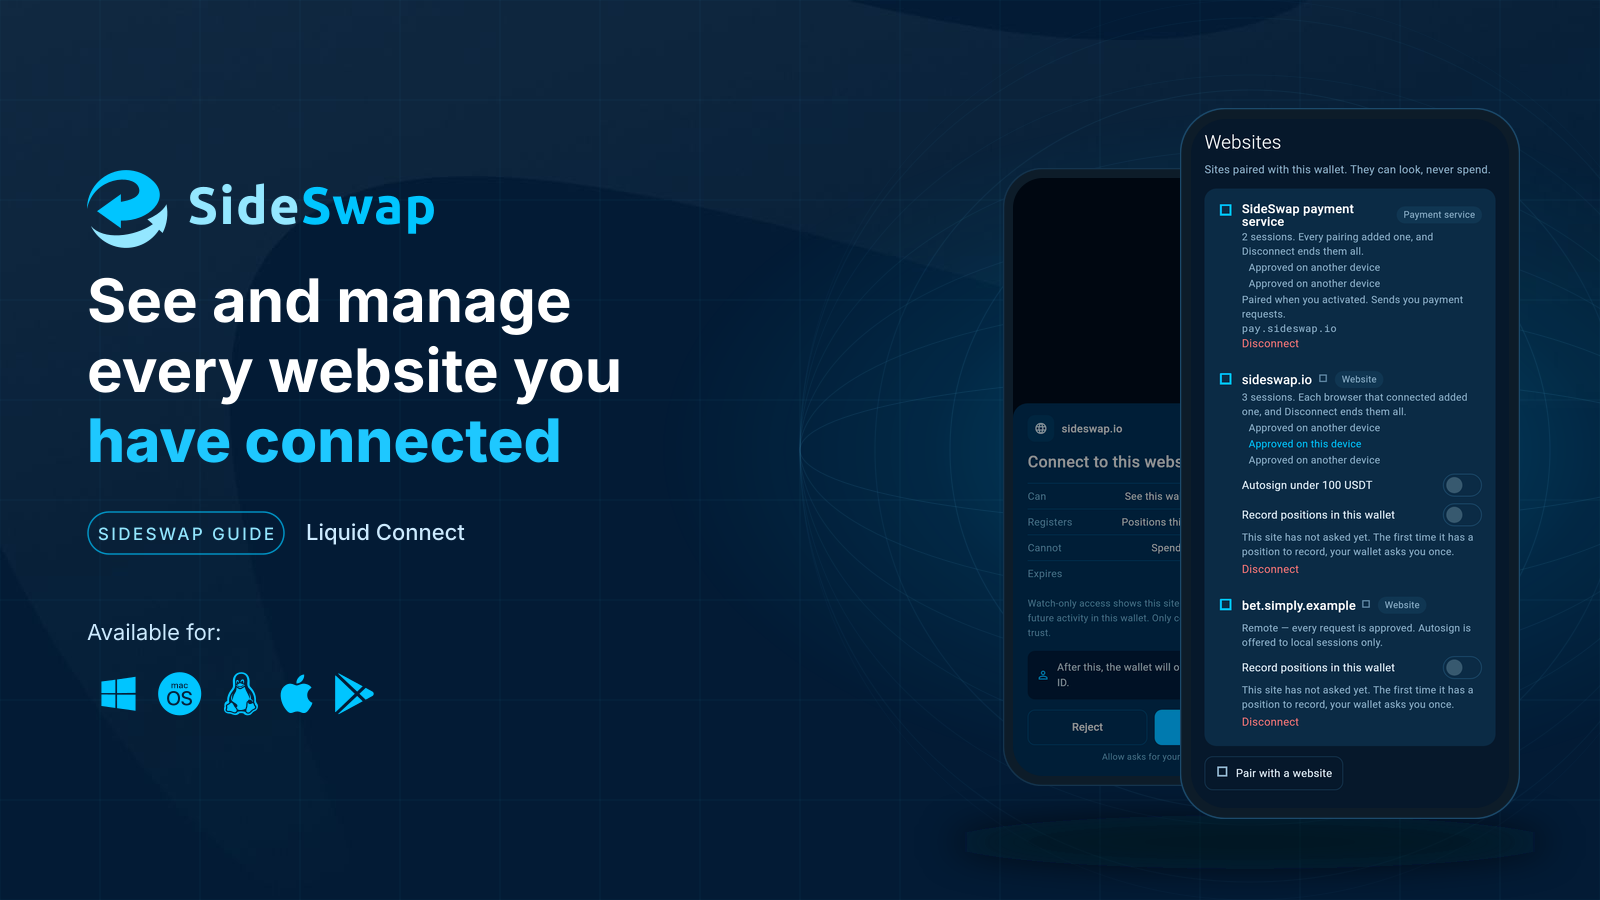
Manage connected websites
See which websites are connected and disconnect any of them.